Spring Cleaning

It’s that time of year again: Spring! As we all anxiously prepare our gardens and yards for the summer months, we’ll likely be doing some pruning, planting, and mowing. Whether you have your whole routine down or you’re suffering from some winter brain-freeze, here are some reminders for best practice in getting your garden ready for spring!

pruning

Our spring pruning may include dead-wooding (removing stems or branches that are no longer living), shaping (pruning for a specific shape, especially in the initial years after planting), or general maintenance (it’s important to clean out your plants of overgrowth and ‘suckers’ so they can receive enough light and water).

Regardless of what kind of pruning you have at hand; it is of the utmost importance that you wait until after blooms are sprung. Pruning while a shrub or tree is budding may create a stress response which can ultimately kill the plant but is most likely to cause the plant to send up overzealous new growth called ‘suckers’. These shoots skyrocket above the main structure of the plant to reach the sunlight, in doing so, taking away from the energy that the main structure receives.

For the healthiest prune, tackle your garden in early winter or early spring. However, if you’ve been slow to roll this spring, just remember not to prune before the bloom!

planting

            Perhaps this is the year that you revamp your landscape! New plants are so very exciting, but planting young plants too early can potentially hurt your new garden dreams. Planting should occur after the last frost of the year. Here in Spokane, that’s typically around Mother’s Day, though with the unseasonably warm spring we’re having, it’s reasonable to think that some folks might jump too soon.

Once the last frost has come and gone, plant your new garden with care. There are a number of things to consider when planting; What kind of light do the plants work well with (Full sun/Full shade/Partial sun)? Make sure to place plant material in appropriate spaces for their needs! What is the soil like in your planting area (Rocky/Clay/Soft/Dry)? If the soil is very rocky, you may want to reconsider your placement. If your soil is mostly clay, keep in mind that it will retain more moisture, longer. If the soil is dry, it’s important to ‘mud’ plants in and ensure that they’ll be receiving enough water where they’re planted. When planting trees, it is extremely important that the root flare (a flared area at the base of the trunk) is exposed and planted at or slightly above ground level. Making sure that the whole you’ve dug is large enough and bowl-like in shape, will also aid in successful planting.

If springtime is busy for you, consider planting dormant trees in early winter, or planting bulbs in the late fall You’ll have a shock of color to enjoy come springtime, even if it’s just when you’re walking to and from your front door.

mowing

            As you pull your mower out of the garage and dust it off, take some time to ensure that it’s in working order! Once you’re certain it’s still kicking, get started on your lawn. This time of year is crucial to the health of your lawn. As it’s coming back to life from a winter of dormancy, the best thing you can do is mow frequently! Even if it may seem like you could let it go another day or two, frequent mowing will increase growth and therefore, the health of your lawn (Be sure to give it lots of water, too!). Be sure to set your mower’s blade to no more than 1/3 of the grass height and mow, mow, mow.

If you notice that all or parts of your lawn are struggling to come back, even with frequent mowing and watering, throw down some fertilizer to give it a kickstart.


            Springtime is upon us, indeed. As you’re pruning, planting, and mowing, remember that we here at Pacific Garden Design offer a wonderful, full-service maintenance contract and would be more than happy to take the hassle of spring (and year round) garden maintenance off of your hands. For more information and estimates, call our office at (509) 838-3939.


written by: kiely stelahue, social media manager/plant specialist

Your Garden Apothecary

As autumn approaches, and the cool winds of winter begin their approach, the time is just around the corner for winterizing our gardens. Many of our annuals will simply be pulled; our perennials will be cut back; our shrubs pruned and sheared; but which parts of our garden have not lived out their usefulness yet? Well-known as it may be that many plants can be used in healing arts, it is lesser known how to harness their medicinal values. So, what in your garden can you put to use at the end of our growing season? Let’s take a closer look!

Bergamot; Bee Balm; Monarda x            

Known as a favorite flower of local pollinators, Bee Balm, Monarda, can be used in a tea with marshmallow root to support digestion in any stage of life, it also has a wonderful soothing effect on the throat. After cutting back your perennial bee balm for the year, hang the leaves to dry. Once they have lost all moisture, use a pestle and mortar to crush the leaves. Use the same technique with the marshmallow roots but grind them down to a fine powder. In a tea ball, combine 1 tablespoon bee balm and 1 teaspoon ground marshmallow root; steep in boiling water for 5 to 10 minutes and enjoy!

The beautiful Bee Balm blossoms you enjoy in the summer can also be utilized. Sprinkle them fresh blossoms in salads or blended them into vinaigrettes.

Coneflower; Echinacea purpurea

One of the most commonly used plants in herbal medicine, Coneflower roots have been utilized in healing arts for thousands of years. Despite being a perennial in our climate, you may choose to pull your Echinacea at the end of the growing season to test some of its many benefits out for yourself. For example, coneflower roots can be used to create a wonderful throat spray—a useful tool as we head into cold and flu season! Start by drying your coneflower roots; once dry, create an Echinacea tincture by placing the roots in a wide mouth canning jar and pouring your alcohol of choice (at least 80%) over the top until the jar is full. Seal the jar and shake it vigorously everyday for 3-4 weeks. Once you have your tincture, add a ¼ cup of it to 1/8 cup honey, 1/8 cup water, and 1-2 drops of peppermint essential oil (optional). Mix well and pour into a spray bottle, using as needed by spraying directly towards the back of your throat.

Calendula; Pot Marigold; Calendula officinalis

Another garden favorite with a vast array of therapeutic qualities, calendula has its roots in just about every home-remedy! From digestion, to irritation; deodorant to shampoo, it is hard to find a reason not to utilize calendula. The blossoms of calendula (which typically bloom from May through the beginning of autumn, if deadheaded) can be dried and used in just about everything. A personal favorite is this calendula skin oil: Start by using your pestle and mortar to grind up 1 ½ ounces of dried petals. In a heat-proof glass bowl pour 10 ounces of sunflower seed oil over the herbs. Heat your oven to 150 degrees and place the bowl in the oven for about four hours, stirring the mixture once an hour. When four hours has passed, use gauze or muslin to drain the oil into a container, making sure to wring out the remaining oil from the herbs. You can use this skin oil to alleviate irritated skin, minor burns, acne, and some fungal conditions, or add half to beeswax, aloe, and benzoin for a calendula salve, great for chapped lips!

Thank you for being interested enough in your landscape to want to learn more and for being a part of our growth as a community. Together we can make the Inland Northwest more beautiful!


Kiely Stelahue

Nursery Manager/Plant Specialist


Photo credits: Alison Pasino/Winter Enright

Bee Balm is beautiful and beneficial to pollinators and your health!

Bee Balm is beautiful and beneficial to pollinators and your health!

Water Features: The Good, The Bad, & The Ugly

The summer heat can be beautifully relaxing or an all enveloping force that has us running for our air-conditioning. During these devilishly hot August days, cool water stands out as one of the few reprieves. Flowing, bubbling, and splashing, we enjoy unwinding by the local pools, rivers, lakes, or the much overlooked, garden water feature.

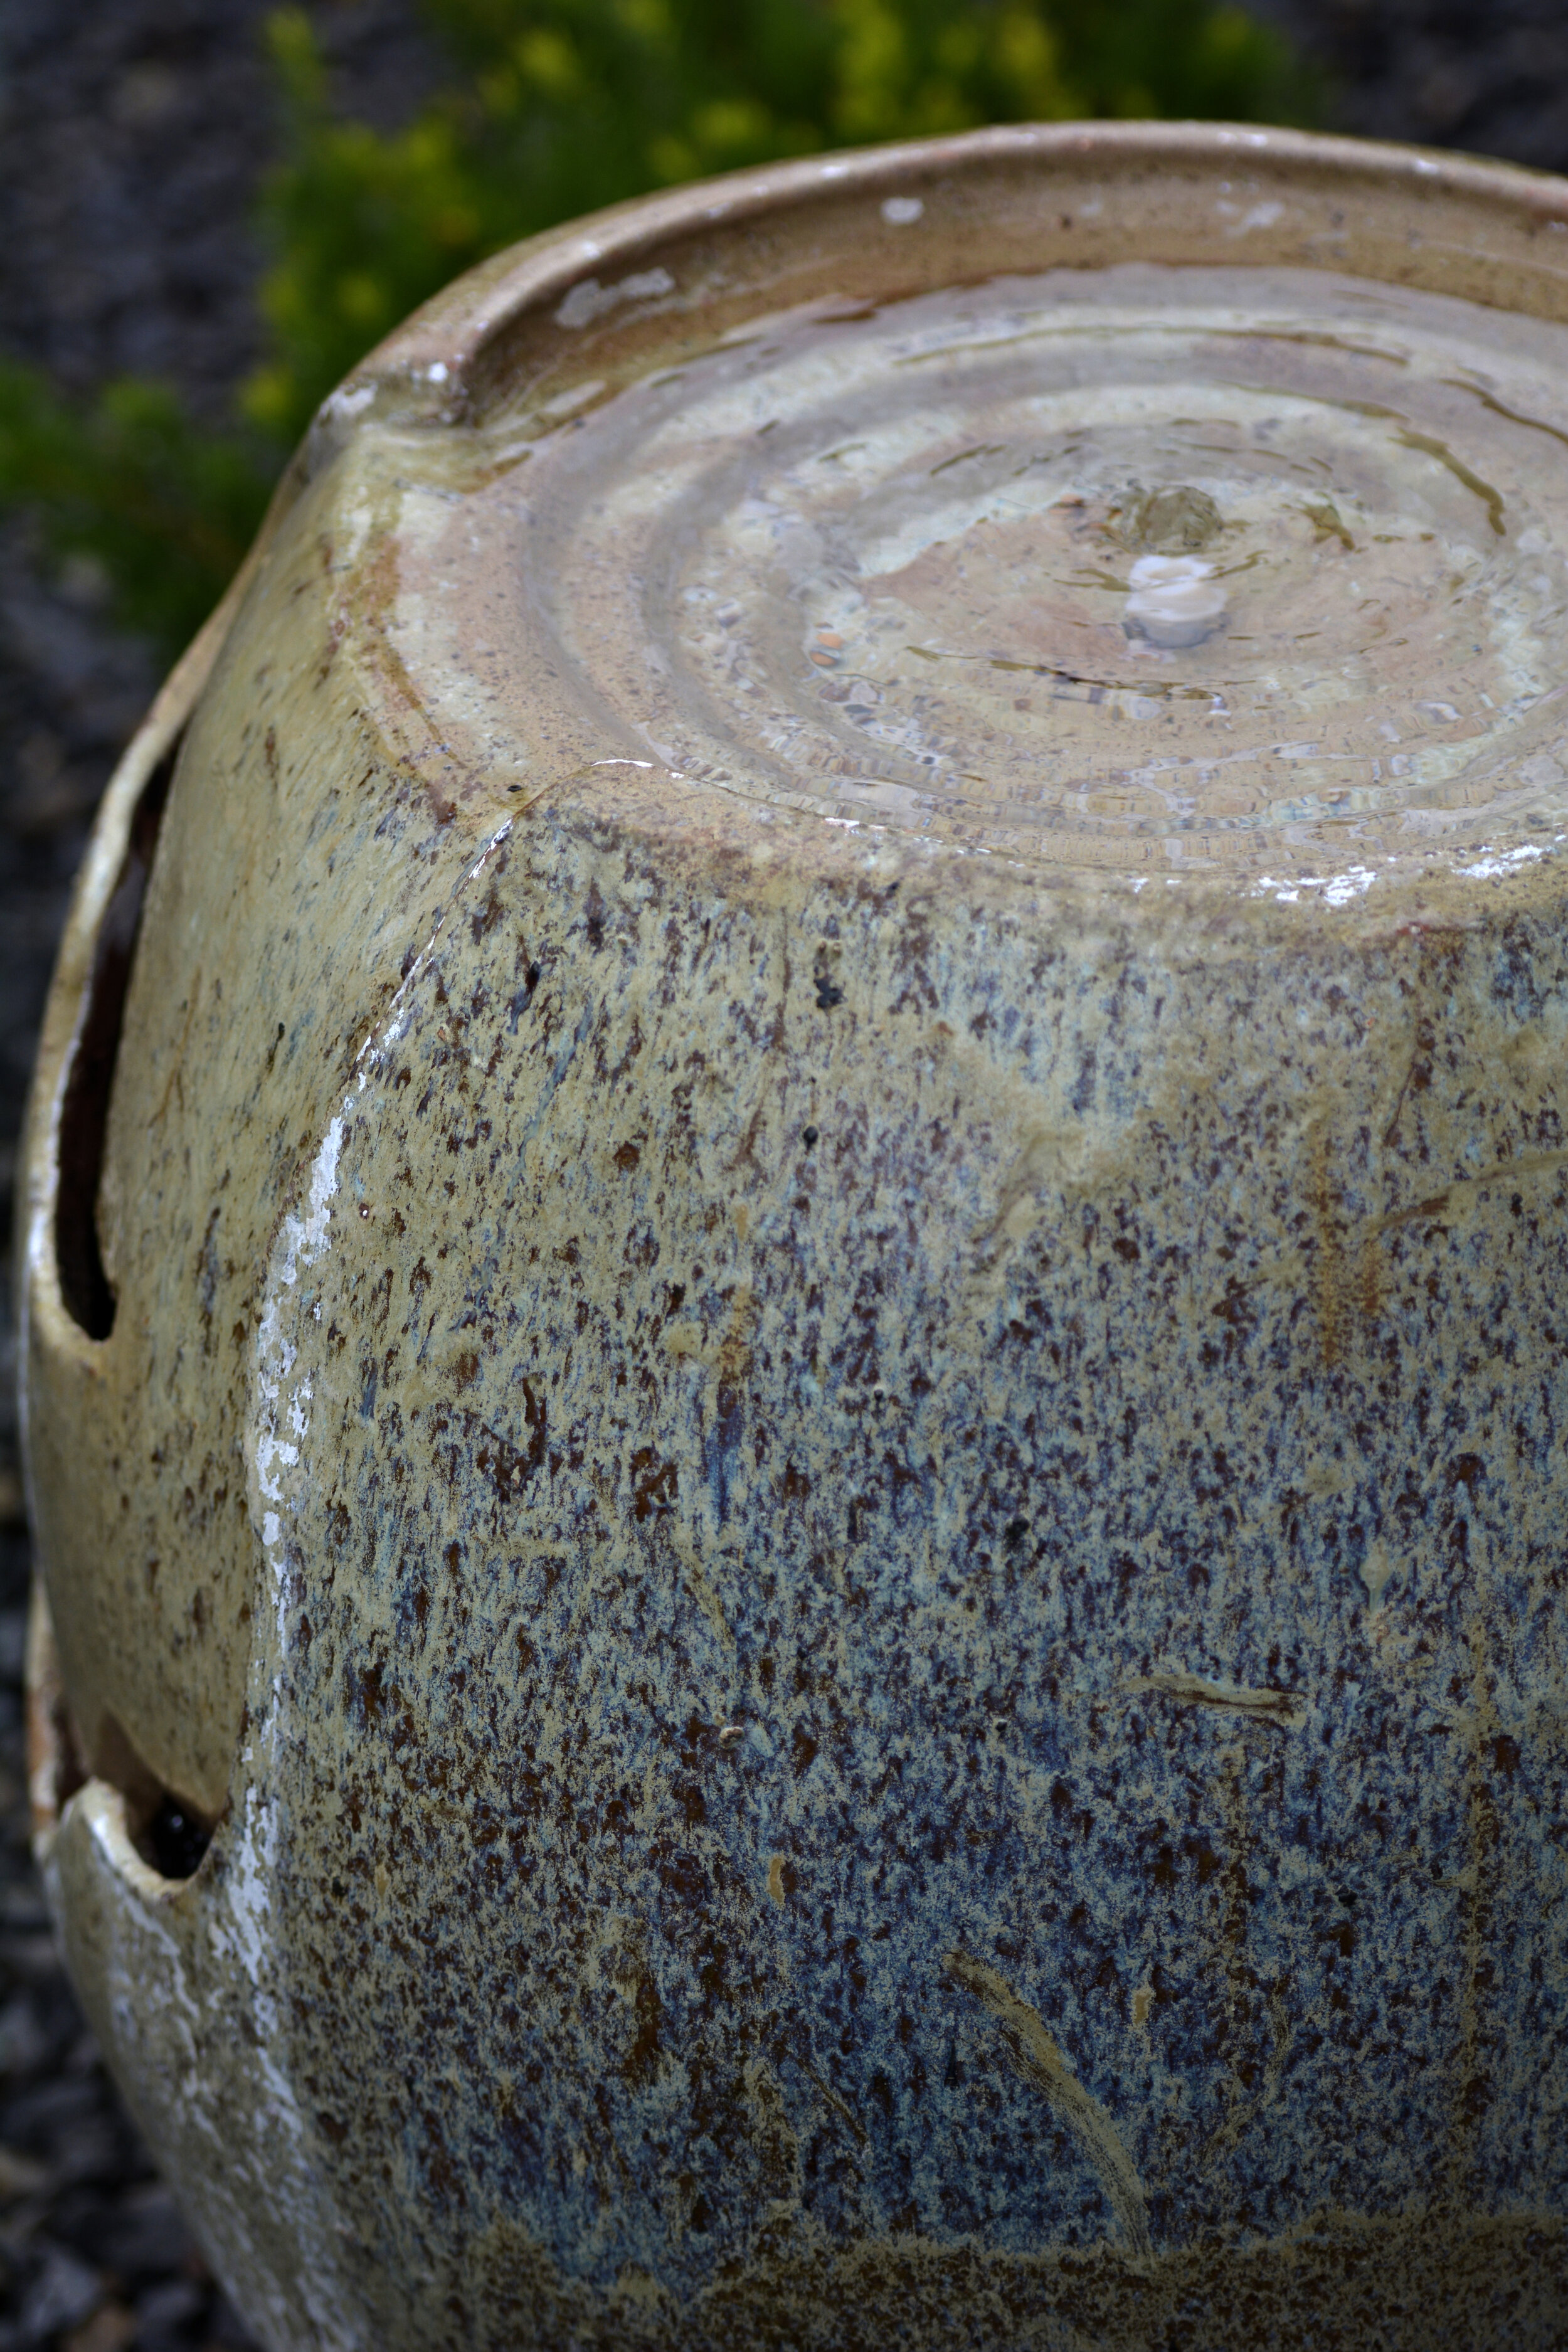
Water features take many forms: reflecting pools, waterfalls, ponds, fountains, streams, rain curtains, bird baths, etc. They can also take on distinctive qualities such as pondless, splashless, mostly dry riverbeds, fish towers, still water, etc. Here are a few examples:

There are many different options to choose from and there is a water feature out there to satisfy all aesthetics, needs, and budgets.

Each water feature has their own siren song. A bubbler fountain is space efficient and soothes you with gentle sounds, while a koi pond indulges your inner animal lover and zen garden enthusiast. Regardless of the variety, water features draw you in and grab your attention. In the words of Richard Wilbur, "...Happy in all that ragged, loose collapse of water, the fountain, its effortless descent and flatteries of spray...

Now let's get down to business. Here are a few aspects to consider when contemplating adding a water feature to your oasis:

The Good

Tranquility - features with moving water provide a soothing and peaceful sound to any landscaping even if they are low noise.

Atmosphere - the humidity generated can help any garden create a balanced microclimate for any plant. It is especially helpful for plants that require more moisture in the air.

Species-Friendly - incorporating different types of features can help local wildlife or allow for one to foster a home. Koi ponds are a great example for providing a safe space and stylishly elegant element. While bird baths give the local birds a place to clean up and socialize. Even bee/butterfly drinking stations can be included!

Distinctiveness - no matter what style of water facet is chosen, they add another unique attribute to your garden. It gives the appearance of a well rounded landscape and a point of conversation if guests are visiting.

The Bad

Expense - the cost for any water element can range from a few hundred dollars to tens of thousands. It all depends on your budget and the technicality of the piece. A small bubbler won’t be nearly the cost or construction effort that a large, tiered waterfall feature can end up being. In addition, factoring in the water usage and electricity costs is an overlooked aspect when thinking about purchasing pieces.

Material - depending on the type of water feature you want, each one can be made from different materials. Stone, ceramic, plastic, tile; each medium has its own set of requirements. For example, stone tends to be harder to clean due to its porous nature while plastic will fade from sun exposure over time.

Location - when thinking about where to put a water feature, location is key. You wouldn’t want to put a rain curtain in a tight space or have a large pond that could drain straight into your house. Measurements and having a realistic mindset will take you far.

The Ugly

Chemicals - if you are wanting a crystal, mountain spring look, you better accept the fact that chemicals or a regular cleaning schedule  will need to be involved. Algae will accumulate over time and will need to be addressed unless you want a murky appearance. Algaecide tends to do the trick but be warned, it stains wood. Ultraviolet lights can assist in keeping the water clearer but aren't a permanent solution.

Drowning - probably one of the most ugly aspects of the water feature topic. With water comes the haunting thought of drowning. If you have small children, certain animals, or individuals that are impaired, then you run the risk of experiencing an incident. No one wants to think about this possibility, however, it is a reality that needs to be addressed when thinking about a piece. If you are worried about this bullet point, considering a shallow water feature may be an excellent way to go (i.e. birdbath, pondless fountain. etc.).

Water features may not be for everyone; however, if your heart is drawn to water, the effort will be worth the reward.

Thank you for being interested enough in your landscape to want to learn more and for being a part of our growth as a community. Together we can make the Inland Northwest more beautiful!

Winter Enright

Horticulturist/Pruning Specialsit

Photo credits: Ki Stelahue and Winter Enright

_DSC9914.JPG
_DSC9815.jpg

Weedy Worries

Even in times of turmoil there is one thing you can always count to show up in your life… weeds. There are ways to minimize the havoc they can wreck on your back and your landscape.

Know thy Enemy

First let’s define the problem. What is a weed? The gardener’s definition of a weed varies by region and personal preference. Anything can be a weed. It is simply a matter of what you do and don’t want in your yard.

Why do we not want weeds? Besides being unsightly, weeds compete with your landscape plants for resources such as water and nutrients. Left unchecked they may crowd out and harm your other plants.

Not all volunteers are a menace though. I recently was delighted to find baby silvery lupine growing next to my currants! Take the time to research the “weeds” that magically appear in your landscape. You might find hidden benefit to plants you once mercilessly exterminated!

Enough is Enough

The next thing we need to discuss is your tolerance threshold. Nature abhors absolutes. If your standard is that there can’t be a single weed in your yard, then you have set yourself up to fail and just invited frustration into your life. Think about weeds more as a spectrum. This can be either based on size, type, or quantity.

·        Size – You may allow weeds in your yard that are smaller than a golf ball.

·        Type – Perhaps you find that clover in your lawn (since it is a beneficial nitrogen fixer) or friendly, edible purslane in your flower beds doesn’t really offend you.

·        Quantity – Maybe you wait to pounce on the invaders until there are 6 or more in an area.

Feel free to be creative with your threshold, just choose what works best for you and your yard.

Plan of Attack

·        Catch weeds while they’re small. Weeds are much easier to kill when they are still seedlings when occurs for about the first 2.5 weeks after they appear above ground. At the very least you must pull them before they flower and go to seed!

·        Get the root! If you do choose to pull weeds, make sure you get all of it. Quite a few species will regenerate from any pieces of root you leave behind.

·        Cover the soil. Nature hates bare ground and will cover the ground with weeds if you don’t address it. Using a 3-4” layer of rock or wood mulch will help prevent new weeds, but it won’t stop the existing ones. Just make sure you don’t suffocate your existing plants with mulch!

·        Chemicals have their place but use them as a last resort. They are heavily misused in urban environments and the ill effects are beginning to come to light. Research other options such as solarization, special tools to pull them, or organic alternatives.

·        Be consistent. It can take several seasons to break the cycle if a yard has been allowed to be overgrown with weeds. Consistent care will greatly reduce the amount over time until your yard simply doesn’t grow many weeds.

·        Limit new weed seeds. Any areas near your house that are a haven for weeds will allow the weeds to spread to your yard. Convince your neighbors to address the issue or mow them down before they go to seed. You can also plant hedges or build fences to physically help deter the spread.

·        When in doubt bring in a professional. A knowledgeable maintenance company will be able to help you address specific issues or develop an Integrated Pest Management (IPM) plan.

Knowledge is Power

This article on covers a small amount of information. If you are interested in learning more, I would highly recommend looking at WSU’s Hortsense website. It covers everything from weed identification to lawn issues to common issues with vegetable gardens.

http://hortsense.cahnrs.wsu.edu/Home/HortsenseHome.aspx

Thank you for being interested enough in your landscape to want to learn more and for being a part of our growth as a community. Together we can make the Inland Northwest more beautiful!

Alison Pasino

Designer/Project Manager & Certified Arborist

 Photo Credit: Winter Enright

Some varieties of thistles are a beautiful addition to a landscape and other varieties are a painful nuisance.

Some varieties of thistles are a beautiful addition to a landscape and other varieties are a painful nuisance.

What’s in a Name? Hybrids, Varieties, and Cultivars

A rose by any other name would smell as sweet; however, choosing the right type of rose can help you pick between vibrant color and intoxicating aroma. From Alaskan Weeping Cedars to the smallest creeping groundcovers, breeding certain qualities in and out can really make a specimen sink or shine. Below is a quick dive into some different terms you might have heard or seen before at nurseries and why they might matter to you.

F1 Hybrids – Bred for Perfection

Often referred to simply as hybrids, these plants are cultivated by growers to enhance certain traits, such as improved disease resistance, larger flowers, or increased hardiness. The creation process involves repeatedly inbreeding plants into two genetically stable strains. These two strains are then cross-pollinated. The resulting offspring are referred to as hybrids.

This is important if your area is prone to certain diseases that you would like to avoid. The downside is that if you save and plant the seeds, the resulting plant may not have the desirable traits of the parent.

Varieties & Cultivars – Discovered Treasures & Developed Beauties

A variety is a form of a species that is slightly different than the "regular" species, but not different enough to warrant a new species. Varieties are often found in nature, as opposed to being created by plant breeders.

The term cultivar is shorthand for cultivated varieties and refers to plants that have been developed by plant breeders or discovered growing in nature and propagated by horticulturists. The plants are often propagated by rooting cuttings.

Quite a few plants in nurseries are cultivars or varieties with interesting traits that make them more desirable to gardeners.

It is important to be aware that some cultivars are patented, making it illegal to propagate them yourself. The plant name may bear a trademark symbol, and you may see a warning that propagation is prohibited.

Thank you for being interested enough in your landscape to want to learn more and for being a part of our growth as a community. Together we can make the Inland Northwest more beautiful!

Alison Pasino

Designer/Project Manager & Certified Arborist

Be aware of the fine print. Some plants cannot be legally propagated!

Be aware of the fine print. Some plants cannot be legally propagated!